http://elanartist.wix.com/elanhiart

http://elanartist.wix.com/elanhiart
Elan Portal

Monday, May 18, 2015

BLICK Channel ROCKS!

Need a project idea? Looking for a demo that can take you through the process step by step? Well, I got the best YouTube channel for that! BLICK Art Materials has its own YouTube channel and it is not just helpful but full of cool and interesting project ideas.


There informative videos are thorough giving the viewer vocabulary, supply lists and clear and factual information about the project steps and use of materials. BlICK Art Materials is a part of my own designing workshop process and I use it to inspire and challenge me in my work. 

Below are some of my favorite art lessons:

Selfie (where I want to be) - Lesson Plan 


Matisse Prints du Soleil - Lesson Plan


Torn Metal Collage - Lesson Plan


COLLECTION OF DIFFERENT LESSON PLANS: 

Monday, May 11, 2015

Cartoon Characters


I love puppets and cartoons. I grew up loving Sesame Street and all sorts of cartoons. When I was younger Saturday was the best day to catch all of the best cartoons. Nowadays cartoons are not hard to find. With hundreds of shows, networks and channels, cartoons can be found very easily and are watched by so many.
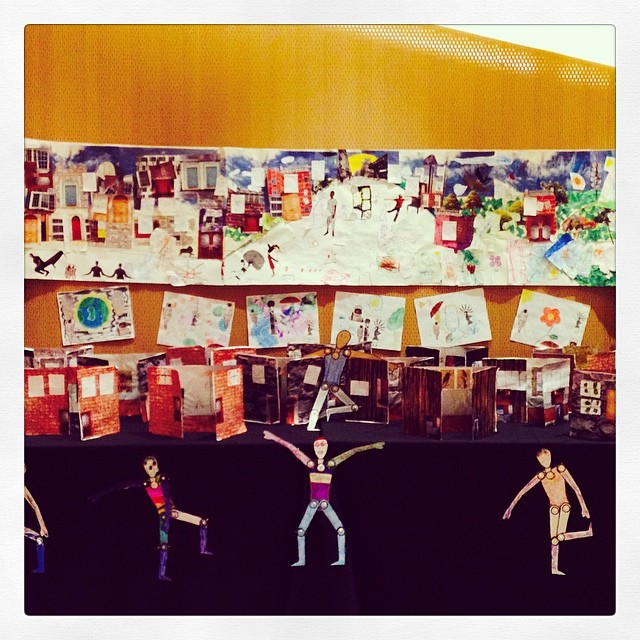
That's why using cartoons as a teaching tool for young children is a good idea. In this workshop I used cartoons to talk about the parts of the face/body, clothing and feelings/facial expressions.
I usually create my own parts of the face but for this workshop I used foam cartoon face pieces I ordered from S&S Worldwide as well as the multicultural face shapes.

Supplies:
- face shapes
- face parts
- shirt cut out
- pant cut out
- glue sticks / wet glue
- construction paper
- markers/crayons

Begin with the background. After the background has been created distribute the shoes, pants, shirts and hands. Remind families arrange first and decide where you would like the pieces before you glue them down. After the body has been positioned add the head and the parts of the face. Complete the project with coloring in details.


Children should be placing the pieces down however they feel is best. It's their artwork so always respect their ideas and compositions.
Monday, May 4, 2015

Still Life Drawings


  1. A Still Life is a painting or drawing of an arrangement of objects, typically including fruit and flowers and objects contrasting with these in texture, such as bowls and glassware. 
    Still life as a genre of painting or drawing.


  2. Trenton Doyle Hancock, “Give Me My Flowers While I Yet Live…”

  3.      During this classroom lesson we began with a 10 minute visual inquiry of Trenton Doyle Hancock’s, “Give Me My Flowers While I Yet Live…”  I tried to have each student share something that they saw in the painting. We discussed the flowers, color, images and shapes they could identify and counted the flowers and petals.

  4. Afterward, we looked at and named parts of a flower. Using a real flower I pointed to parts of it, spoke its name and students repeated. When we were done with the visual inquiry and flower naming, students were asked to sit at their desks and we began the art making portion.

  5. I distributed the cups/vases and they decorated their cups/vases with markers. After 6 minutes of coloring I retrieved the markers and with the help of the classroom teachers and some parents we distributed real flowers. Each student received 3 flowers each, baby's breath and a wet napkin to substitute for soil. I added synthetic grass afterward. 

  6. After the flower distribution and we stopped for a moment of stillness and evaluated the flower arrangement. Students were asked to be still for ten seconds and stare at their flowers. They were asked to share observations and shapes they could find. We then proceeded with the still life portion. We folded a large piece of construction paper in half and they were given a trapezoid and a cup shape. After those shapes were glued on they were asked to pause again to be reminded of their earlier observations. Finally they used color pencils to draw what they saw.

Supplies:
- paper
- still life example (image)
- glue sticks
- flowers
- cup with base or small vase
- water
- napkins
- scissors for the teacher
- markers
- color pencils