Supplies:
- Fabric Markers
- Fabric
- Pencil
- Brayer & barren
- Cardboard
- Foam
- Fabric printing ink
- Palette
- Baby wipes
- Newspaper (or scrap cardboard to control mess)
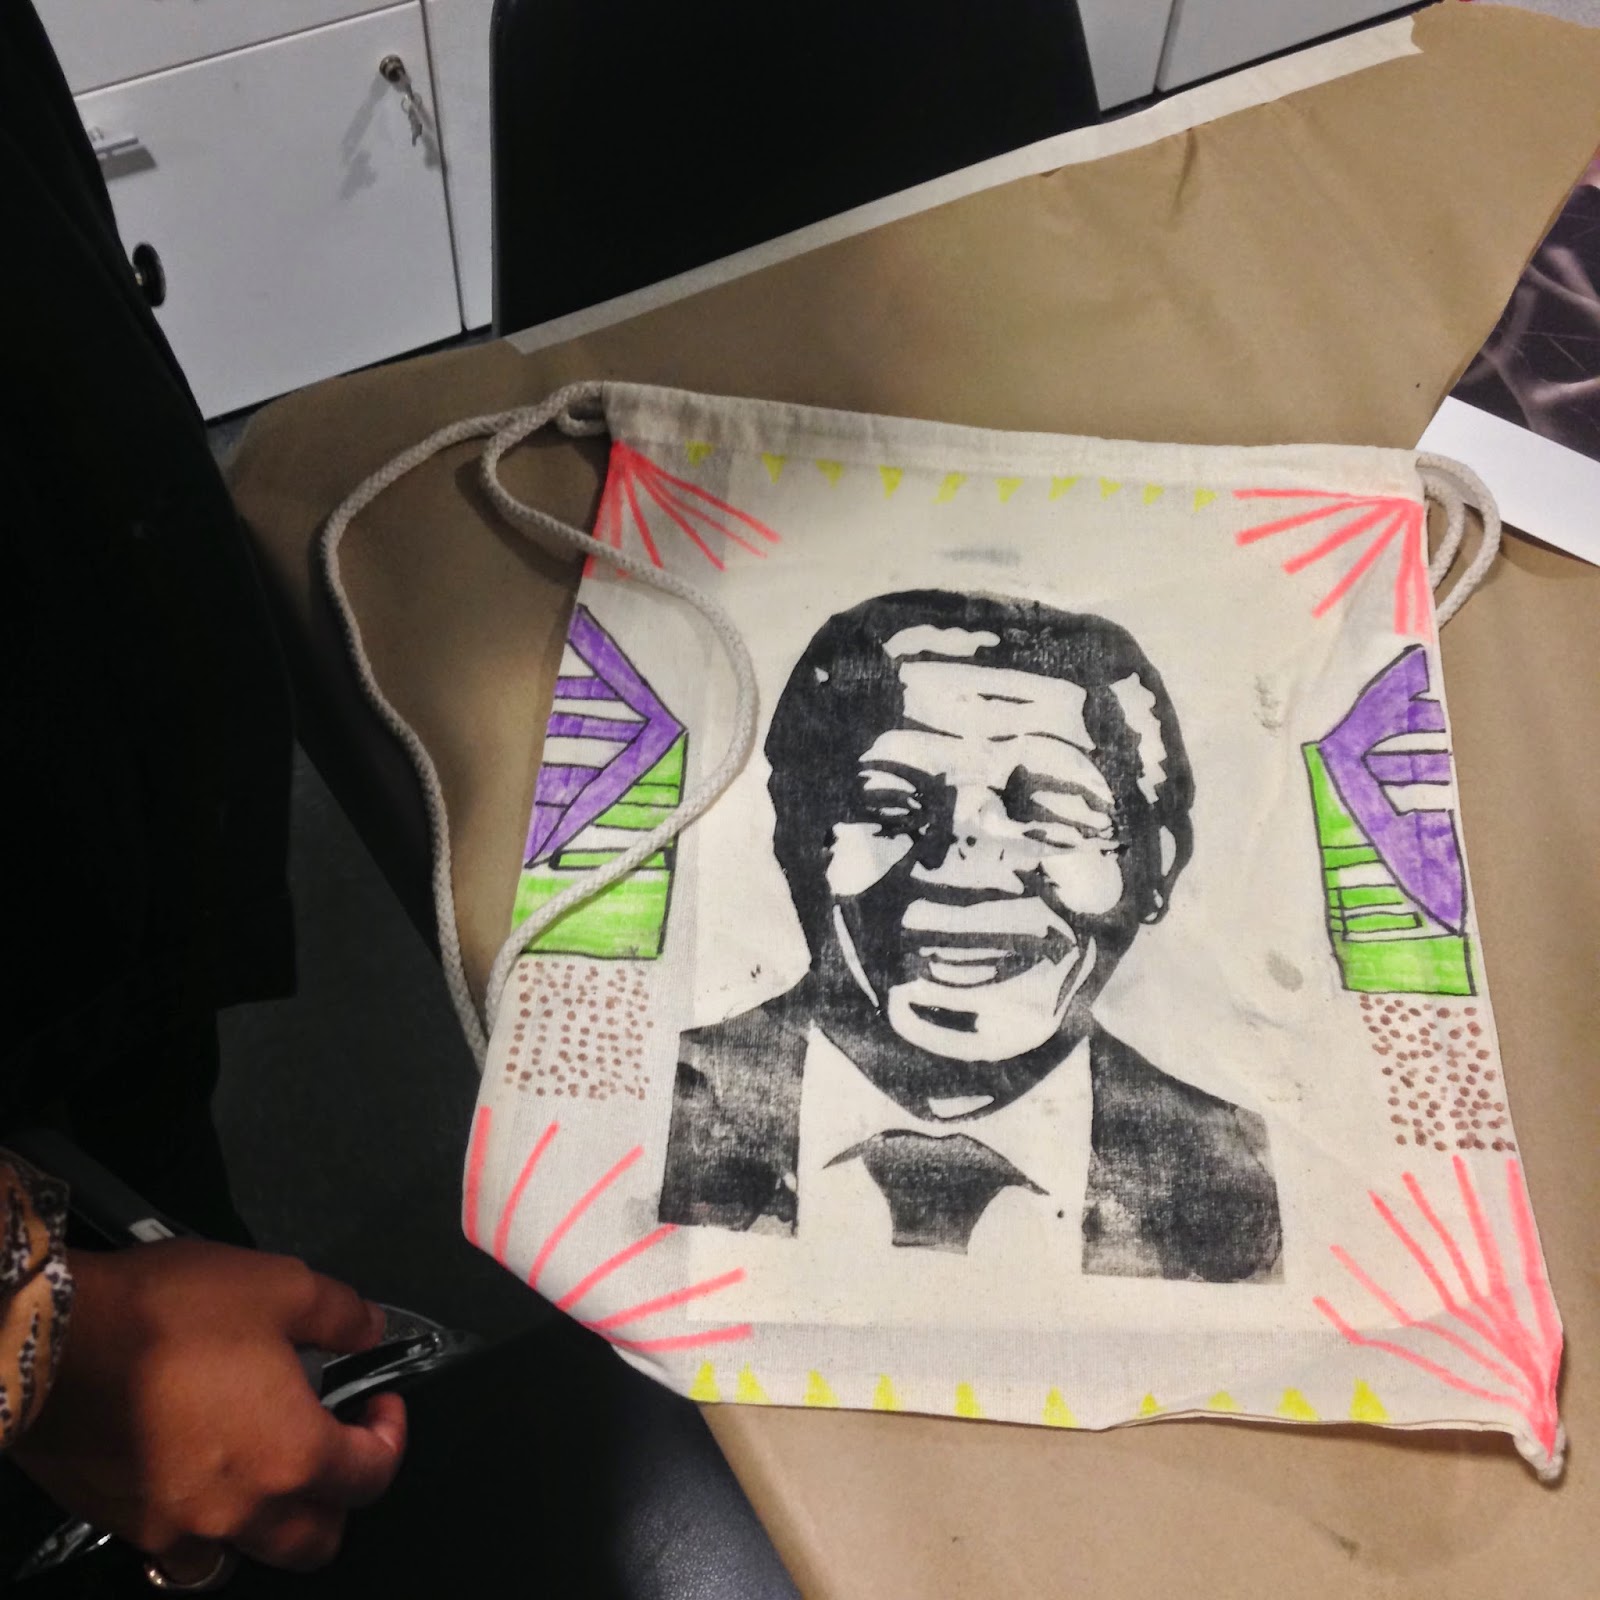
Firstly, you would create a printing plate. Here I have made a printing plate of cardboard and foam. I found a black and white image of Mr. Mandela's face, printed it out, taped it to a piece of foam and cut it with an exacto blade. This part is just for adults.
I stuck the foam to the cardboard (some foams have adhesive on the back and/or can be easily glued to the cardboard.
When the foam is stuck then it is time to prep the object, paper or fabric you will be printing the image on. In this workshop I ordered blank canvas backpacks. It is best to place newspaper or a piece of cardboard inside of the bag to control the inks bleeding.
You will need a brayer and possibly a barren. The brayer is a printmaking tool that looks like a paint roller but with firm rubber. Print makers use it to ink up the plate evenly with a nice coating of ink. The barren is used to rub the back surface of the material and or plate in order to distribute even weight and pressure to create an evenly inked image.
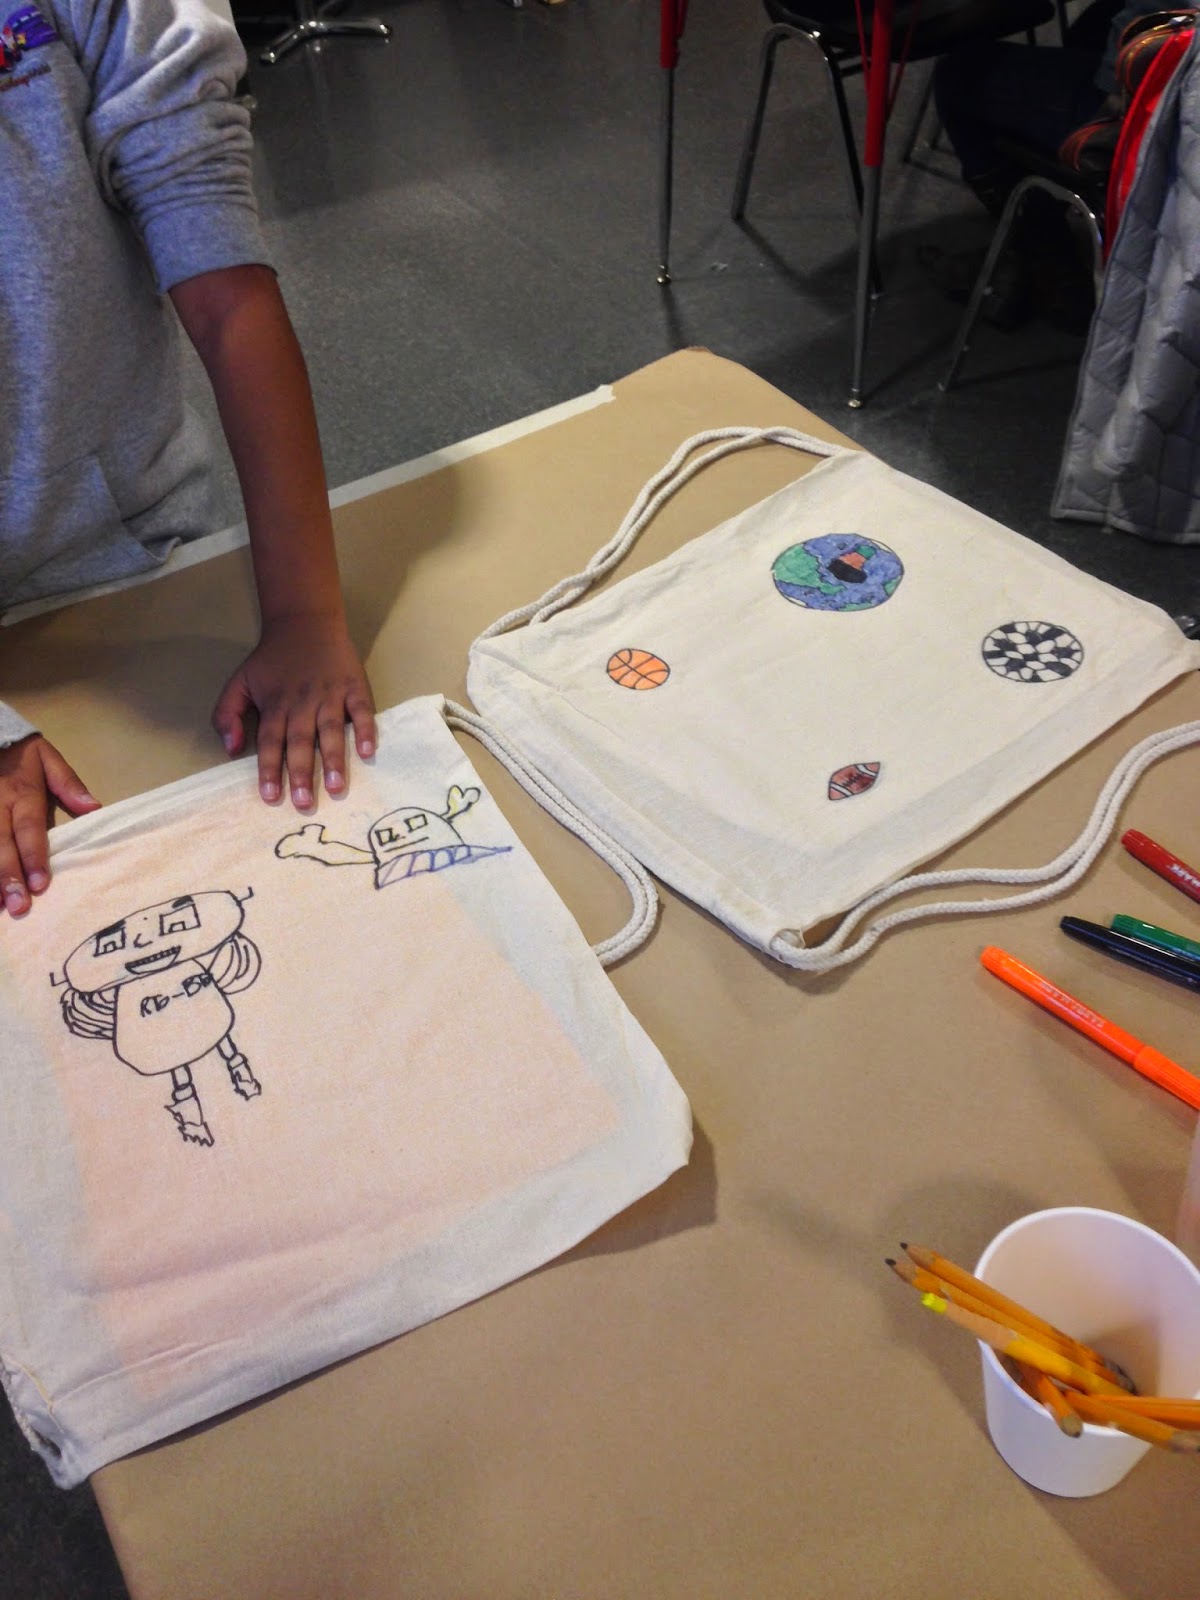
After the printing plate, brayer, barren, palate with ink are prepared you can begin with the pencil and the fabric markers. I encouraged participants to create art on the bag before they printed the image of Mandela.
After the artwork was completed the printmaking began. I was so proud of everyone's book bags and effort. This project came out so well. Happy Print Making!!!
 |
| Rolihlahla was Nelson Madela's birth name. He was renamed by his school teacher. |


No comments:
Post a Comment